Here were the
problems:
- Most antennas had a very small
minority of steel parts which we used reluctantly but by necessity
in 2001 when they were assembled, and all of these were eating the
aluminum they were in contact with.
- All Hy-Gain boom to mast mount blocks
had welded themselves together -- stainless hardware was welded into
the aluminum blocks permanently by the salt.
- All of the ancillary hardware in the
air and on the ground to stop torsioning of the booms in wind,
including lots of turnbuckles and wire clips, were frozen masses of
rust in spite of our best efforts to protect them from the salt.
- Nearly all guy wire tails, which were
1/4 inch EHS, were rusting badly, along with their deadends, and
were approaching failure. (Our guys are mostly Phillystran, but the
bottom 15 feet are steel to prevent fire, abrasion, and vandalism
damage.)
- Many of the stainless steel parts were
corroding and locking up, including quite a few spring clips.
|
Here's how we fixed these, in
summary.
- Prepared a detailed 17 page schedule
of work and materials needed.
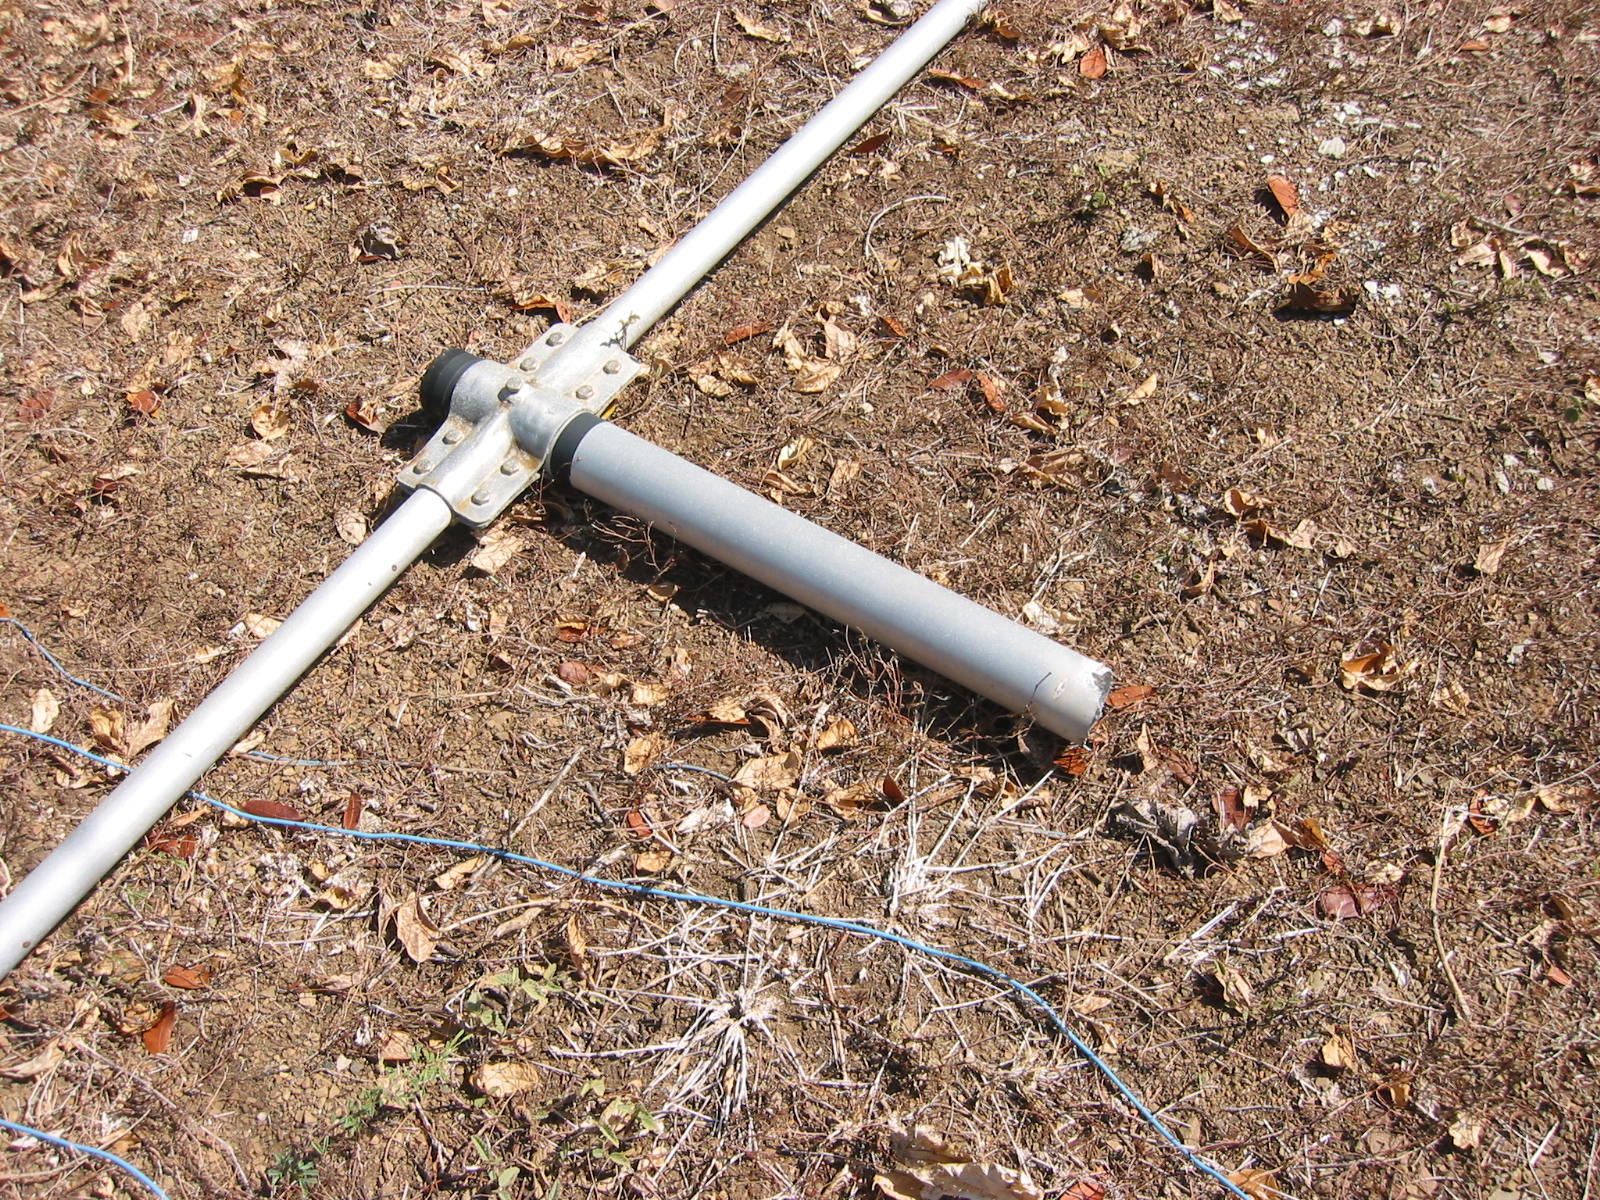
- Designed and fabricated custom
subassemblies for all antenna rebuilds, including new side mount
brackets, pictured in grey in the background of this web page.
- Made a plea to members for help,
finally deciding to do the repairs incrementally as contest teams
were available and on site rather than trying to do it all in one
massive "fix" trip.
- Passed the hat to fund the project.
All told we spent about $5000 on parts and materials, most of which
funding was donated by NP2L. DX Engineering parts, especially the
saddle clamps, saved our lives and made this project possible.
- Bag-dragged parts to the island in
many checked airline bags over several months' time.
- Obtained six Hy-Gain boom end pieces
from N8NR's ice storm destroyed antennas and took them to Curacao in
a huge 8 inch PVC tube on the airlines.
- Took down the Europe 10 (with an
electric grinder) in September 2006 using a non-ham friend of W0CG's
and his girlfriend to handle ground ropes.
- Replaced all ground components in the
Europe tower boom guys in September 2006.
- Began one by one replacement of guys
with new deadends and EHS, coating it all in epoxy, tape, and putty.
(See photos.) Each one took a day and a half.
- W0CG rebuilt this antenna in about a
week of long days. It was torn down to the smallest pieces, and
every bolt and strap was cleaned and replaced where necessary.
- Parked this antenna at 20 feet so it
would not be stolen while CG was gone.
- Installed all three sets of the new
sidemounts on the Europe tower.
- Installed splints in the legs of the
WARC tower at the rotor plate, as the plate U-bolts were eating
through the aluminum tower legs.
- Took down the Europe 15 (grinder)
after CQWW SSB with help from N6ZZ (SK) and his friends and W4PA on
the tower and put it in a closet, disassembled, for safe storage
while off the island.
- Rebuilt the Europe 15 prior to CQWW CW
2006 with many hours of labor from K8ND, W0CG, W0NB, NP2L and others.
- Took down the Europe 20 (grinder) with
help from W8WTS.
- Rebuilt the Europe 20, finishing it
the day before the contest and put it back up on the new sidemounts.
- After CQWW put the Europe 15 yagi back
up on a new sidemount.
- Put the Europe 10 back up using a
non-ham friend of CG's and his XYL in December 2006.
- Continued guy tail replacement as time
permitted, with help from WB9Z, N8LGP, and whoever happened to be
standing around.
- Lowered the US top 10 and then took
down the US/JA 15 in July 2007 with help from DL6LAU and his crew of
PJ2HQ Germans.
- CG totally rebuilt the 15 yagi,
requiring four and a half full days of work. Most parts had to be
cut off with the grinder.
- Put the 15 yagi back up on the last
day the DLs were available in July.
- Lowered the 10, took down the US 15,
then took down the US 20 in November 2007 after CQWW CW with W8WTS
on the tower.
- CG and K8ND rebuilt the US 20 (two and
a half full days).
- Put the 20 and 15 back up on Wednesday
after CQWW CW.
- Reattached all ground wind guys and
lateral guys over the next three days.
- Except for five more guy tail
replacements (none are critical) the project is complete, 18 months
and hundreds of parts and subassemblies later.
|
Keys to Survivability in Salt Air --
Lessons Learned at PJ2T:
- There's salt suspended in the
invisible wind-driven micro-droplets, so the key is don't let
them touch any metal that may be corrosive.
- On antennas, avoid steel wherever
possible and use only top grade stainless and aluminum.
- Where steel can't be avoided, such as
galvanized wire clips or guy wire dead ends, paint it, completely
pot the assembly in duct seal putty (Home Depot electrical
department), wrap it in Scotch 33, then varnish the tape
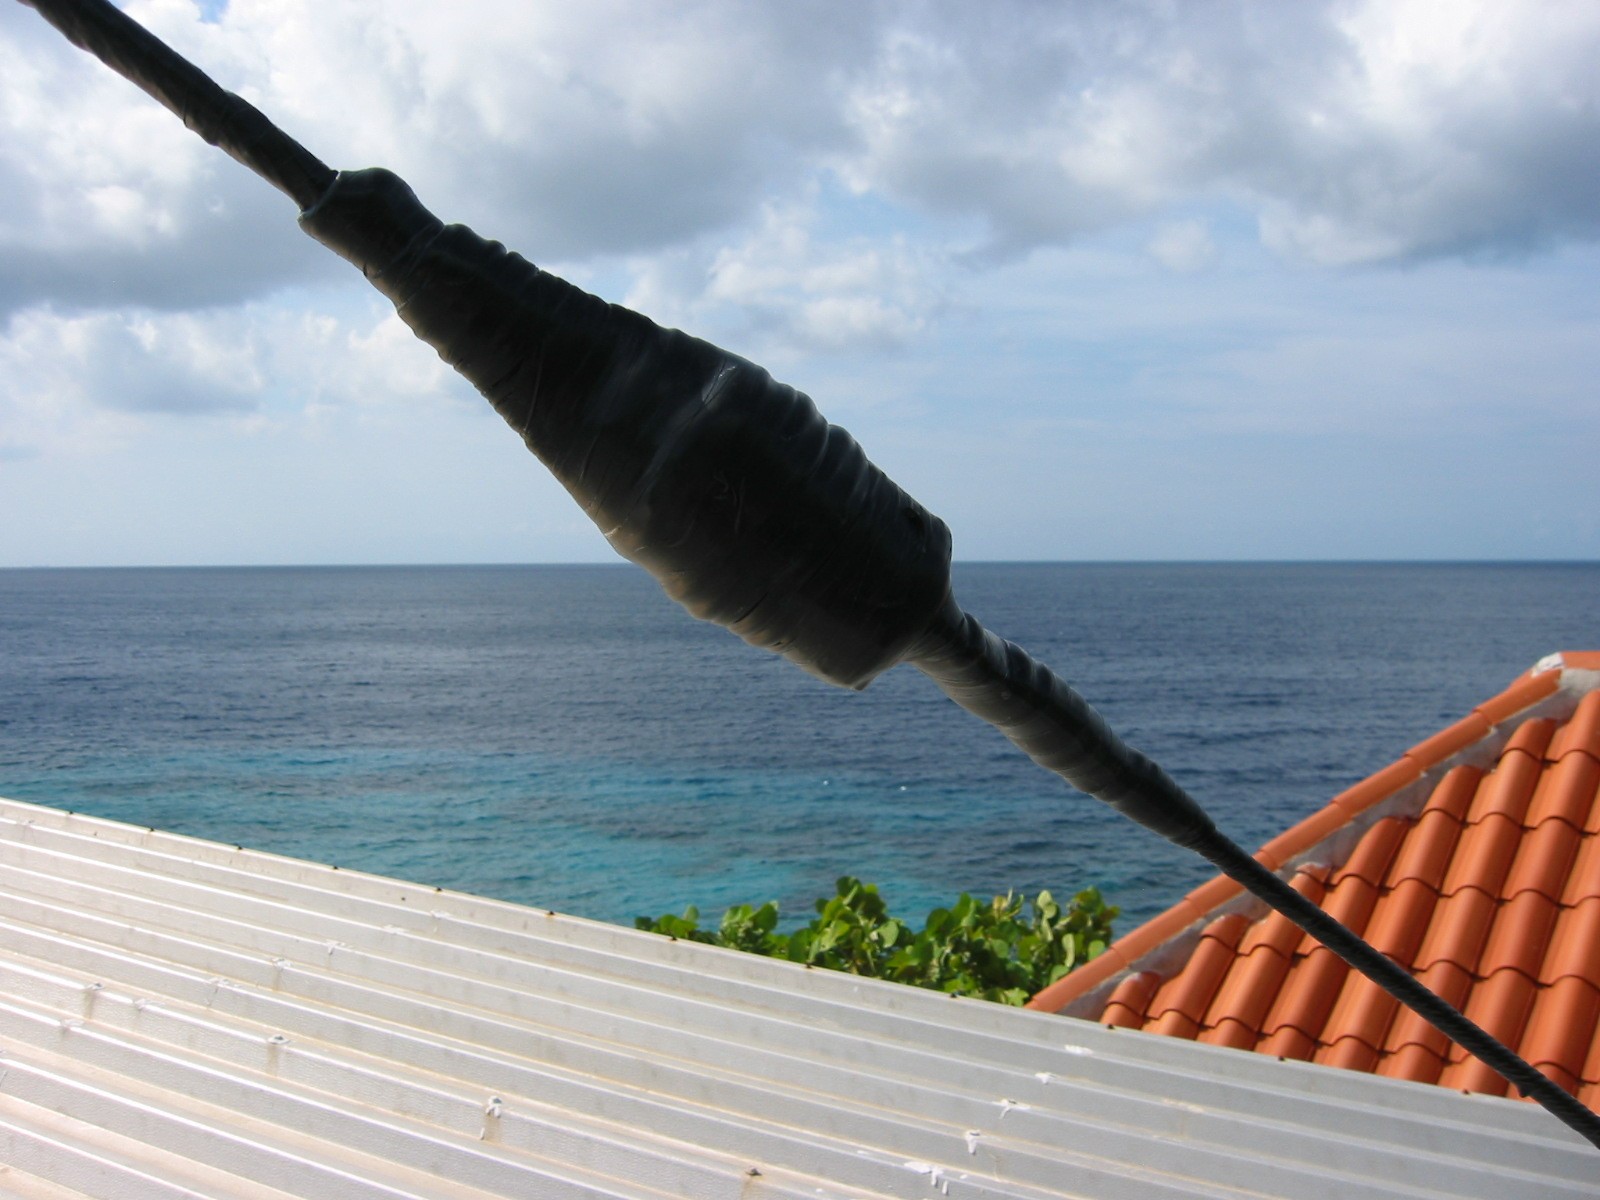
- The photo at the right shows a large
403 porcelain guy wire insulator that transitions from Phillystran
to EHS steel, completely potted, taped, and varnished.
- Paint guy wires with two coats of
epoxy, avoid abrasion damage while installing, then paint dead ends
after installation with epoxy, pot connections in putty, then tape
and varnish the outside. Yes, this means taping the entire exposed
length of guy wires!
- Absolutely avoid steel and aluminum in
direct contact anywhere in the tropics.
- We use literally hundreds of 1 pound
bricks of duct seal and rolls of Scotch 33 tape.
- Never ever install anything
threaded without first coating the threads with NAPA anti-seize.
|
|
|
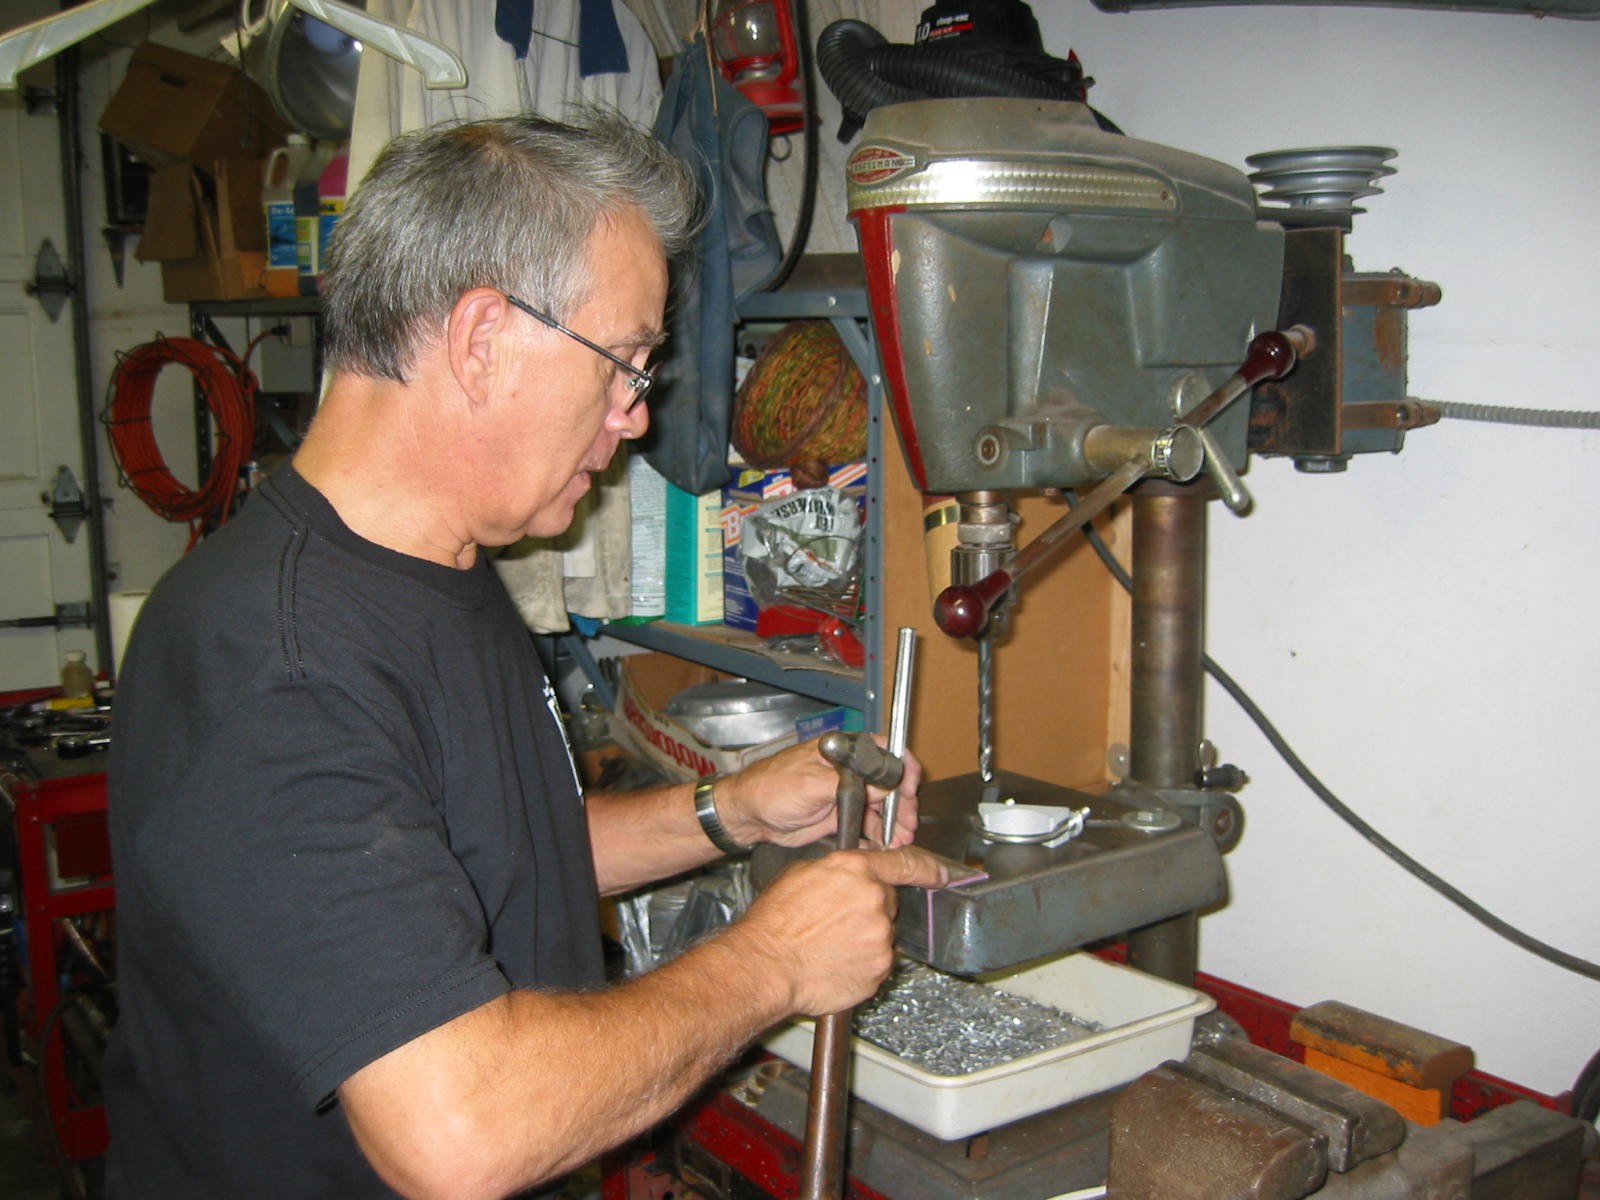
August 10, 2006: Steve,
N8LGP working in his machine shop at home on antenna rebuild kits for
PJ2T |
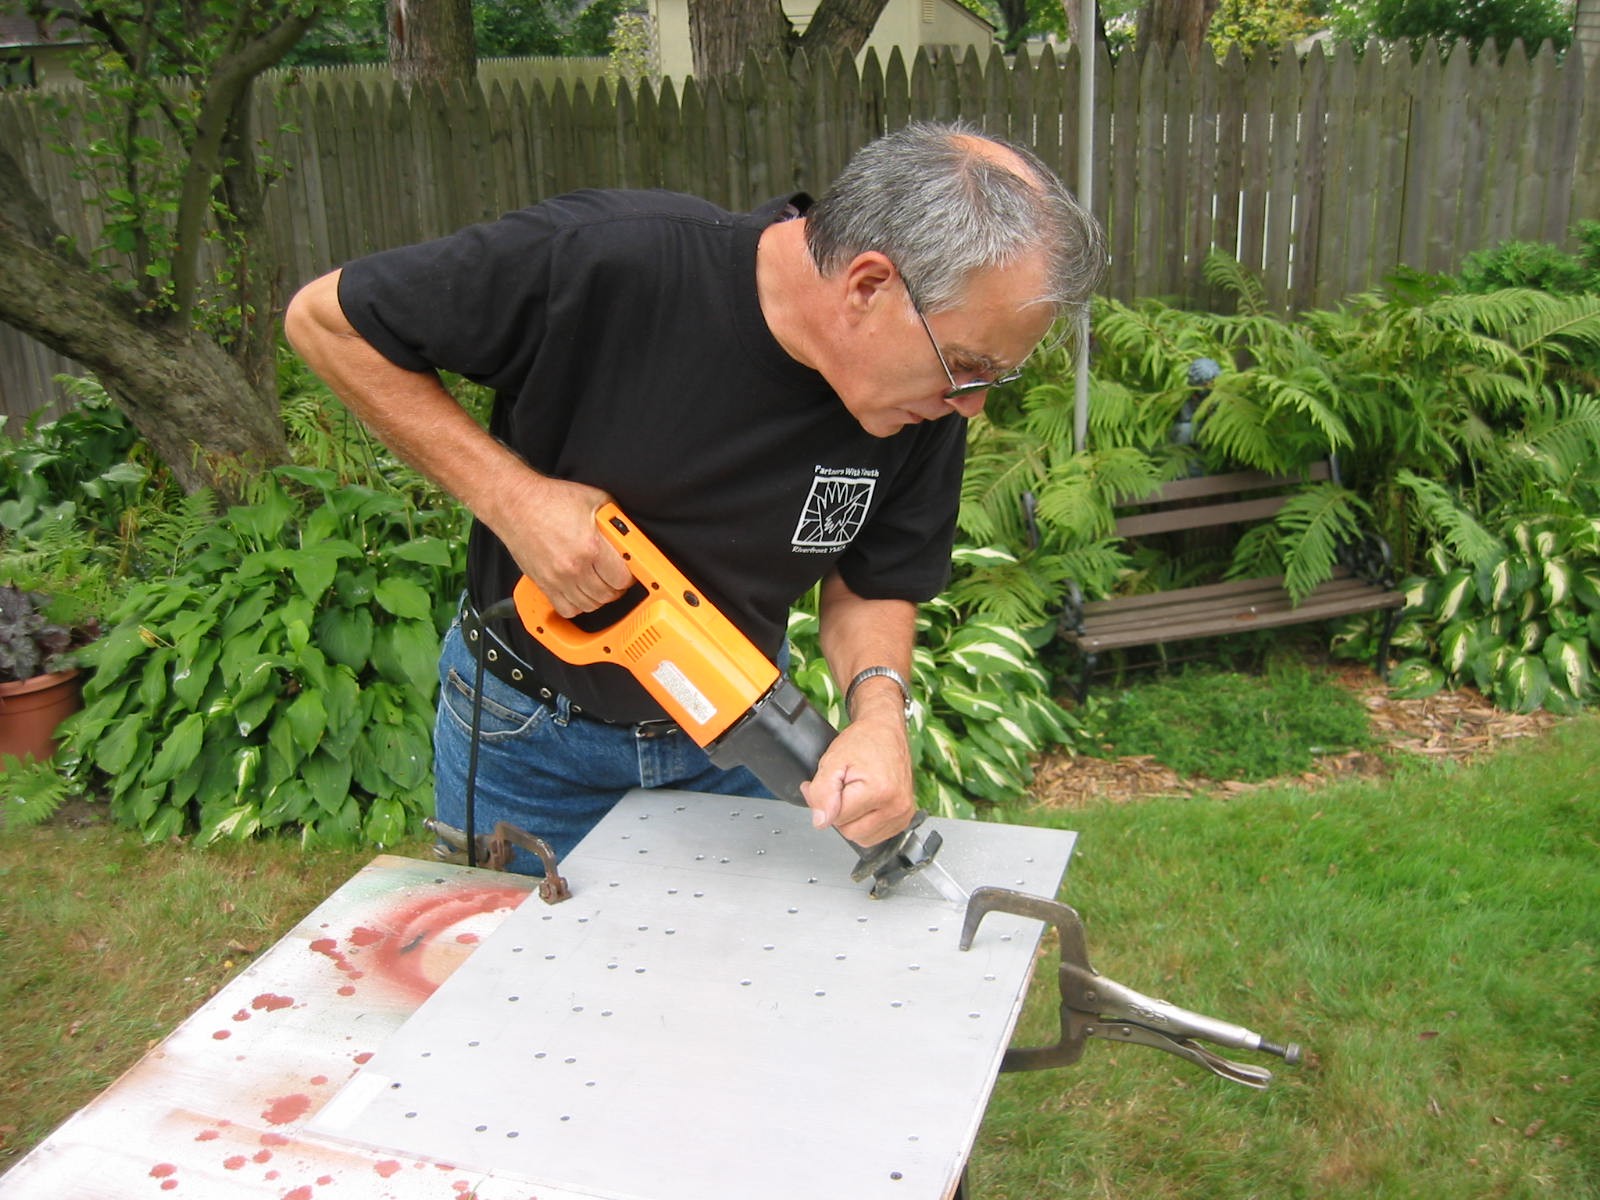
We bought lots of
components from DX Engineering. The quality is incredible. Here Steve's
cutting apart a large DX Engineering flat plate to make some of the boom
side mount assemblies. |